I must admit that sometimes our pantry has that Dorian Gray thing going on.
by John Bagnasco
While some of the past-their-prime foods are downright creepy and verging on hazmat time, there is actually a positive side to the Medusa-like potatoes withering away in the bowels of your pantry.
Store-bought potatoes are sprayed with a sprout inhibitor that makes them unfit for planting. If put in the soil, they would likely rot. However, once the effects of the dormancy inducer have faded and shoots begin to show, they can successfully be planted in the garden.
Here's 4 easy steps for growing your own potatoes.
- Cut large, sprouted potatoes into 1 – 2-inch pieces, leaving at least one sprout (or up to three) on each piece. Set the pieces on a tray with the cut side up, and leave them overnight so the cut sides callus over, which helps prevent rot. Small potatoes can be left whole.
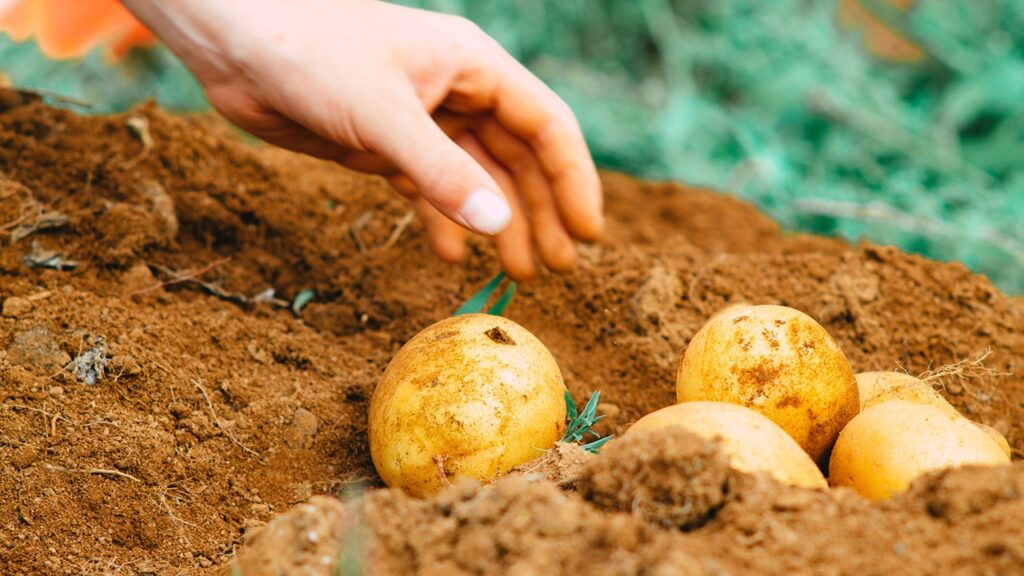
- Sow the pieces at a 3-inch depth, and space each piece 8 -12 inches apart in the row. Space the rows 2 -3 feet apart. Plant each piece so the sprout is on top and the cut side, if applicable, on the bottom.
- Water the soil after planting until moist to a 6-inch depth. Water once weekly to maintain this moisture level, or twice weekly during extended dry periods.
- Cover the bed with a 2-inch layer of straw mulch once the potato plants are 5 inches tall. The mulch preserves moisture, deters weeds and also prevents sunburn on potato tubers growing near the soil surface.
Peeking into someone else’s pantry is akin to snooping into medicine cabinets, but if you catch a guest doing so, remember to proudly proclaim, ” I’m teaching the kids how to grow their own food!”